By:FastEddy760
Hello Team,
I took the advice, collective knowledge and some luck, and figured out the whole process. Following will be the addition of my pictures and how I removed, soldered, assembled, bleed, and put the mighty 990 back together.
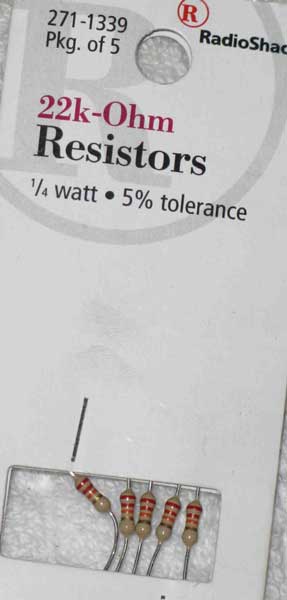
For starters, I used the resistors from Radio Shack, and the plug for Eagle Day. Here we go...
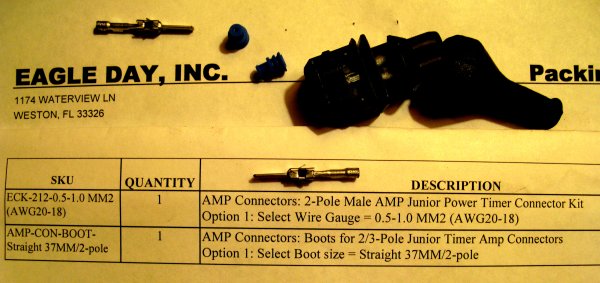
The parts list -
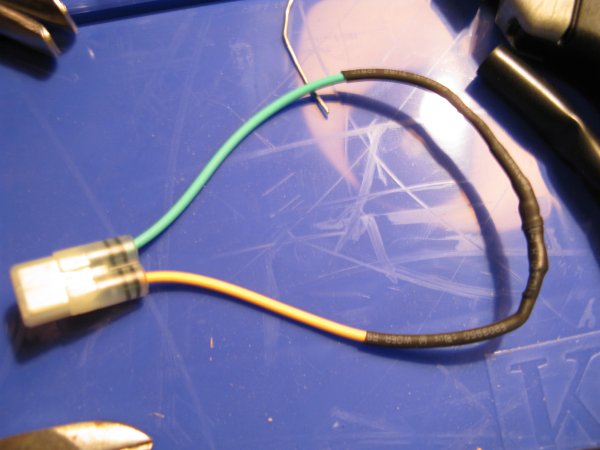
The Eagle Day bits, thanks to Steve.
Ok, here are the steps...
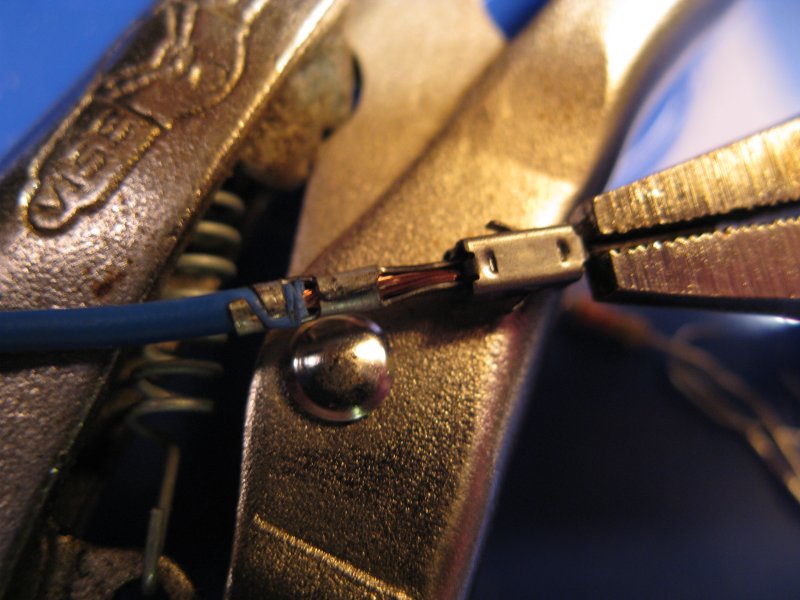
I tested the resistor in the front plug, the one off the canister side by "installing" the resistor and checking for the FI light to go out. It did. Remove the resistor and the light comes on. That was good enough for me. In a few pics, I will show the solder portion for those that just like to look at pics...
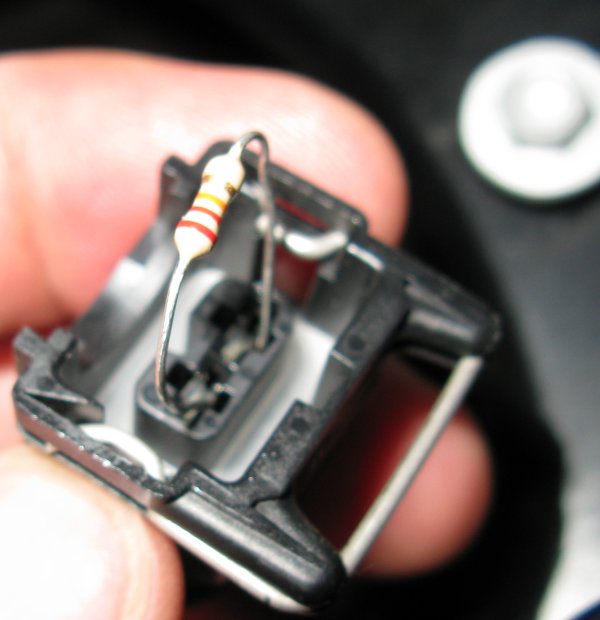
In this pic, you *might* be able to see the resistor out on one side, and the FI light is triggerred. If you look real close, you'll notice the faster blue color also, well, you probably already did.
Here is one of the tabs for the plug from Eagle Day, easy to assemble, just cut the sheath from the end of the wire, insert into the tab and crimp. I also added some solder becasue I like to solder.
The parts for the plug go together quick and easy, insert the tabs until they click, its easy. Then stuff the rubber grommets into the ends as shown, thats not a complete insertion btw.

Okay, now we move to the SASy end of the bike to make a plug for that. This requires a donor plug, so unwrap the tape, and prepare to cut the wires...
...and cut the plug. BTW, its only $44 dollars for a new SAS pump with a good plug. And, I left enough wire to put it all back together if needed.

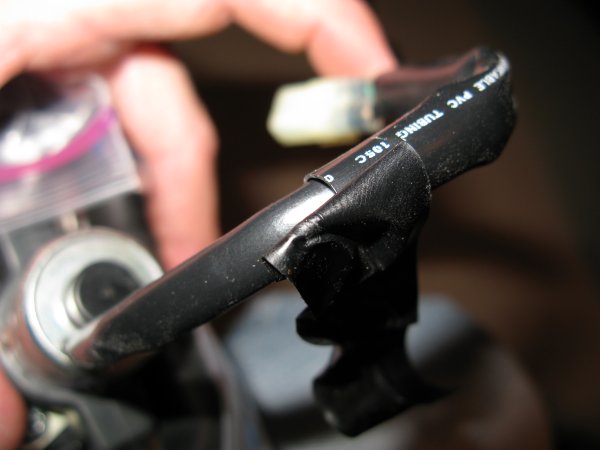
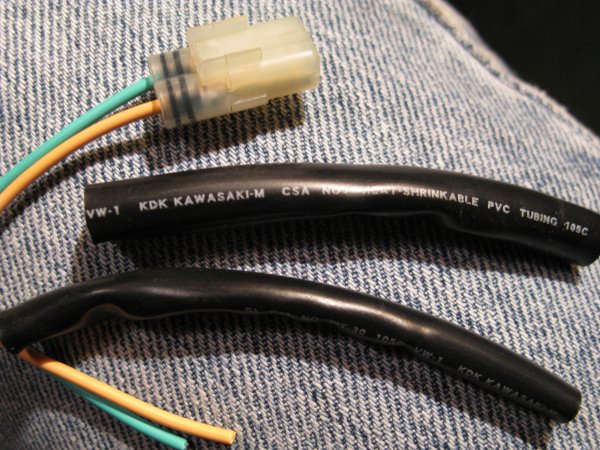
Save the "kawasaki" sheath for the next steps to keep that real factory look...
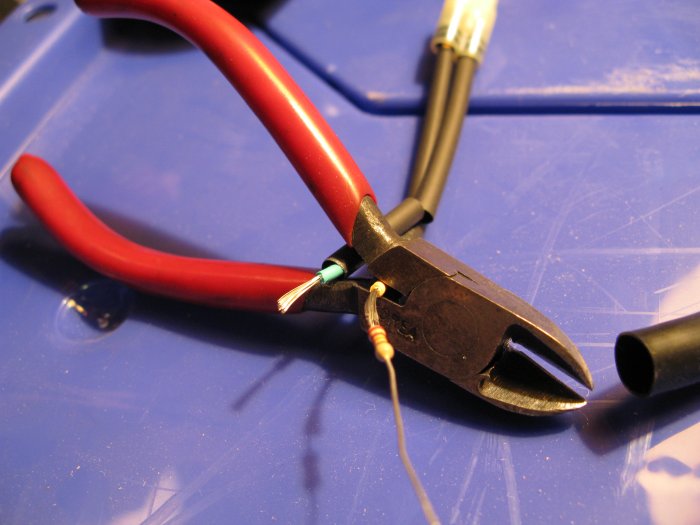
Here, I'm about to solder the resistor on the SAS donor plug. Notice the shrink tube in place and ready for action after both ends are soldered to the donor plug...
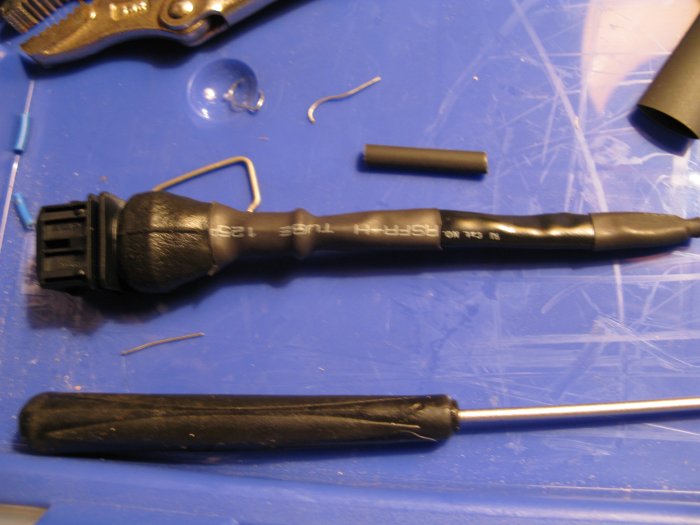
Here is the completed SAS donor plug, soldered at both ends, making a friendly loop, and the shrink tube in place. I will add more shrink tubing, and the orginal "Kawasaki" sheath for, again, that factory look.
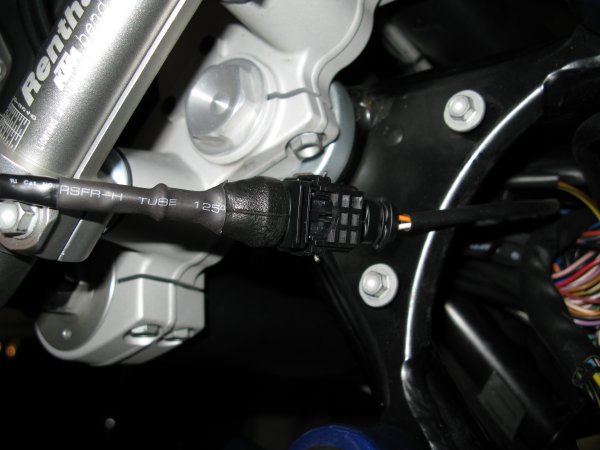
The SAS donor plug complete and installed with extra shrink tube to finish it off and protect it. There is a bend on the resistor wire itself, and why I installed the thinner shrink tube around the resistor, as to protect it somewhat ...
BTW, thanks to Tom at KTM Twins for the block off plates
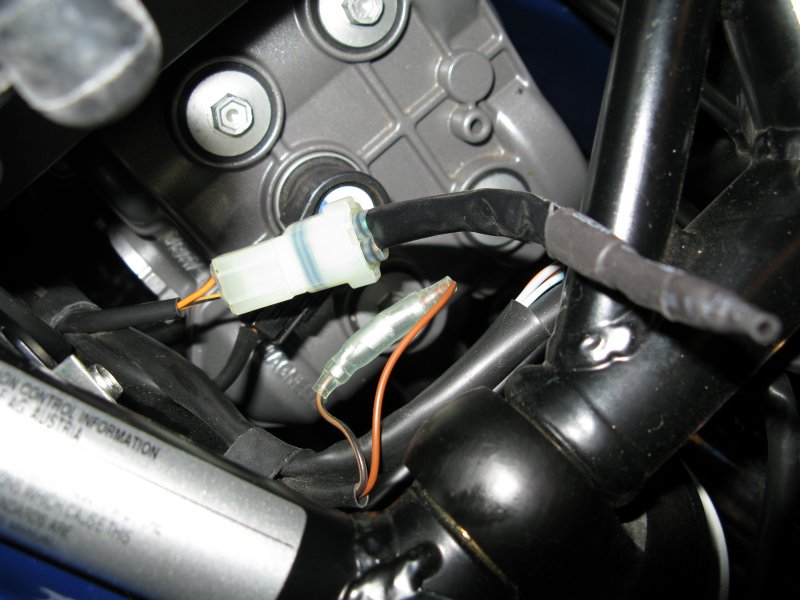
the canister plug with the same treatment and resistor with shrink tube layered and the "other" sheath from the donor SAS plug. That will make more sense if you cut your SAS plug off, as there are two pieces of sheath, one slightly smaller and no "Kawasaki" branding.
The canister end, installed...
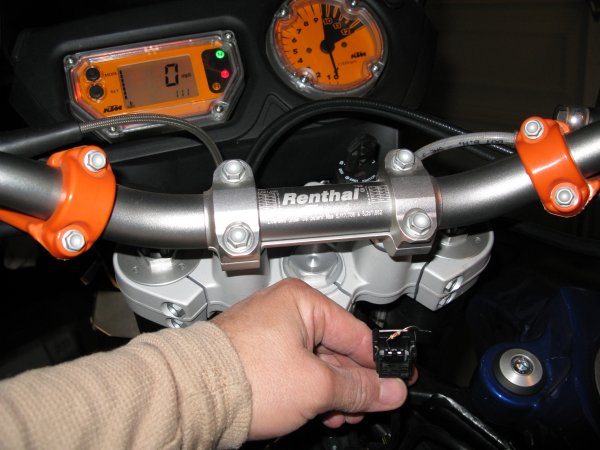
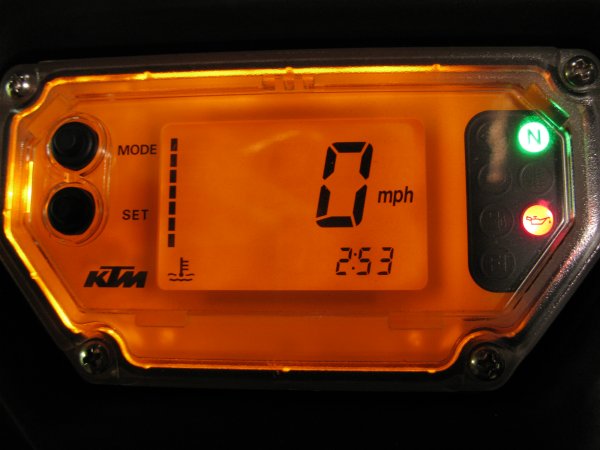
Both plugs installed, key on, no warning lights for fuel injection.
YEAH!!! 

Yes, that is in the AM for the clock reading.
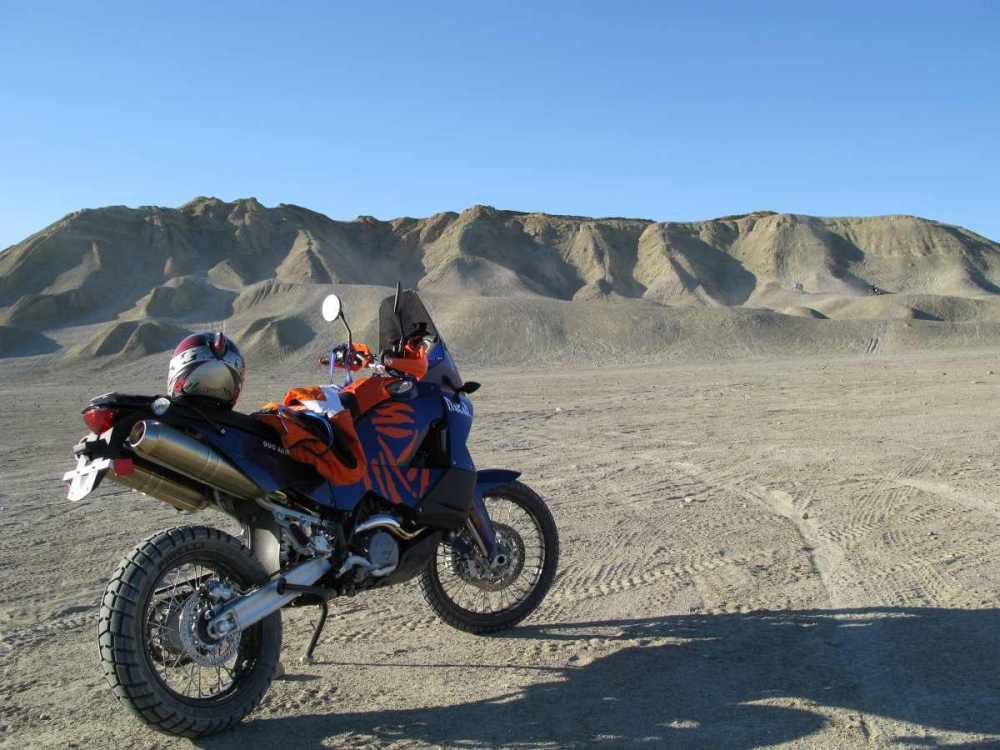
The completed install and road test....
The front block off plate took some time. As others have mentioned, remove the oil tank bolts so you can push it out of the way. Also a small hand, mine is not small enough, and a little box wrench. Other than that, you need to figure it out, but you *can* do it.
The wires are easy with resistors if you take your time.
Pulling the throttle bodies and all the plugs, just let the wires tell you where they want to go and you'll be fine. I recylced the factory tubing where ever I could avoiding capping off for vacuum. The exception was the cap included with the block off plates.
I also did the 15 minute idle trick. As you might guess, the cats are still in the pipes. Without the SAS no longer pumping air, the bike is cooler, starts easier, and it actually sounds better. A bit deeper growl. I also took the bike to 103 MPH (21" wheel setting) that afternoon in the beautiful San Deigo desert. What a machine.
Hope this helps those on the fence, and shares some details that were cloudy in my mind.
Happy trails,
FastEddy